

This website features affiliate links. As an Amazon Associate, we receive a commission from eligible purchases, without any additional cost to you.
Upgrading a MacBook Pro’s graphics capabilities may initially appear overwhelming, particularly when faced with the limitation of not being able to easily replace the internal GPU due to the integrated design. However, there is a viable solution to augment your MacBook Pro’s graphical performance. For those Mac models that feature Thunderbolt ports, integrating an external Graphics Processing Unit (eGPU) can offer a robust and efficient remedy to enhance the graphics quality.
In the forthcoming guide, we will lead you through the process of unlocking a whole new level of graphical prowess without necessitating the opening of your laptop. Whether you are an avid gamer, a professional video editor, or simply someone who desires sharper visuals and smoother frame rates, get ready for an exciting journey as we prepare to significantly boost your Mac’s capabilities like never before!
You cannot swap out the internal graphics card of a MacBook Pro since it’s soldered onto the motherboard. Yet, enhancing your graphics performance is achievable by connecting an external GPU (eGPU) through a Thunderbolt port.
Though swapping out the internal GPU isn’t viable, there are still avenues to enhance your system’s graphics. Discover the advantages, variations, and setup steps of an external GPU for your MacBook Pro.
What’s the Alternative to Replacing the Graphics Card on Your MacBook?
The alternative to replacing your MacBook Pro’s internal graphics card is an external GPU (eGPU), a standalone box that contains a powerful graphics card. This external GPU, when connected to your MacBook Pro through a Thunderbolt port, instantaneously enhances the laptop’s graphical capabilities.
Noteworthy for its convenience and effectiveness, an eGPU is a recommended solution for boosting performance in tasks such as gaming, video editing, 3D rendering, and other graphics-intensive activities, all without the need to modify the internal hardware of your MacBook Pro.
Historically, Apple’s closed ecosystem posed challenges in upgrading Mac computers with third-party hardware. However, the inclusion of eGPU support in macOS High Sierra marked a significant departure from this trend. The subsequent release of macOS Mojave further streamlined the process of integrating an eGPU with a Mac, providing users with more flexibility in enhancing their system’s capabilities.
Which eGPUs Work With Macs?
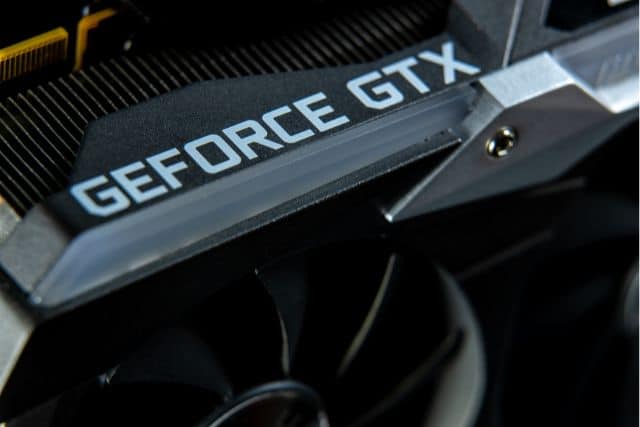
Apple has partnered with Blackmagic Design, a leader in digital cinema production technology, to offer two proprietary eGPU units available in the Apple Store:
- Blackmagic eGPU featuring the Radeon Pro 580
- Blackmagic eGPU Pro with the Radeon RX Vega 56
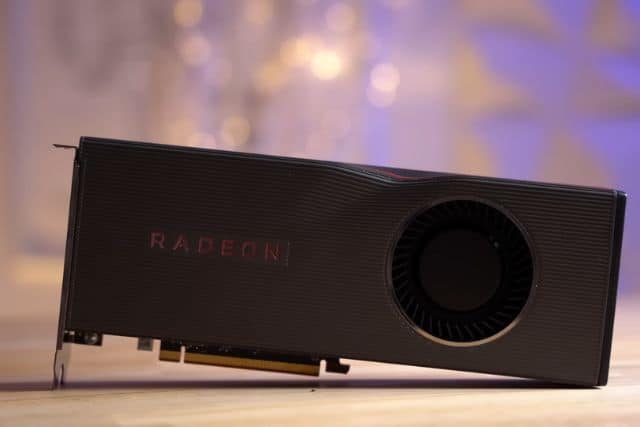
That said, there are also third-party options like the Sonnet eGFX Thunderbolt 3 enclosure, although you’ll need to buy a compatible graphics card separately.
Prior to buying an eGPU, note that Apple’s macOS exclusively endorses AMD-based GPUs. Although it’s feasible to utilize an Nvidia-based eGPU, be prepared for some extra configuration steps. Additionally, Apple’s endorsed eGPU compatibility extends solely to newer Macs featuring a Thunderbolt 3/USB-C port. Nonetheless, as we’ll elaborate on later, older machines aren’t completely disregarded in this scenario.
Which Macs Can Use an eGPU?
Apple officially supports Macs equipped with a Thunderbolt 3 or USB-C port for eGPU usage. This generally includes:
- MacBook Pro models from 2016 onward
- MacBook Air models from 2018 and later
- iMac models from 2017 and beyond
- iMac Pro and Mac mini (2018 and later)
While official support is limited to these newer machines, older models with Thunderbolt 2 ports aren’t entirely ruled out; however, getting an eGPU to work with them may require additional workarounds or adapters.
Moreover, your Mac must be running macOS High Sierra 10.13.4 or a newer version.
If you own a recent Mac equipped with a USB-C interface, you’re largely set for plug-and-play functionality. Most eGPUs connect via USB-C and are automatically recognized by your Mac, provided you’re running macOS High Sierra 10.13.4 or later.
How to Add an eGPU to an Older Mac
While your Mac may lack an official Thunderbolt 3 port, you can still utilize an eGPU, even though Apple doesn’t offer official support for it. For example, you can connect a Blackmagic eGPU to a late 2013 13-inch MacBook Pro, which initially featured an underwhelming Intel Iris graphics processor.
Before You Start
- Ensure you have the right hardware and a compatible Mac.
- If you want to use an eGPU with an older MacBook featuring a Thunderbolt 2 or Thunderbolt 1 port, you’ll need a USB-C to Thunderbolt adapter. We recommend using Apple’s own adapter for compatibility, especially after software updates.
- You’ll also need a Thunderbolt 2 cable.
- For software, make sure you’re running the latest macOS.
How to Connect
- Back up your Mac, as things could go awry, and you might need to reinstall macOS, losing your data in the process.
- Make sure the eGPU is unplugged.
- Download an automate-eGPU EFI zip file from this link.
- Copy the folder to a FAT32 formatted USB drive.
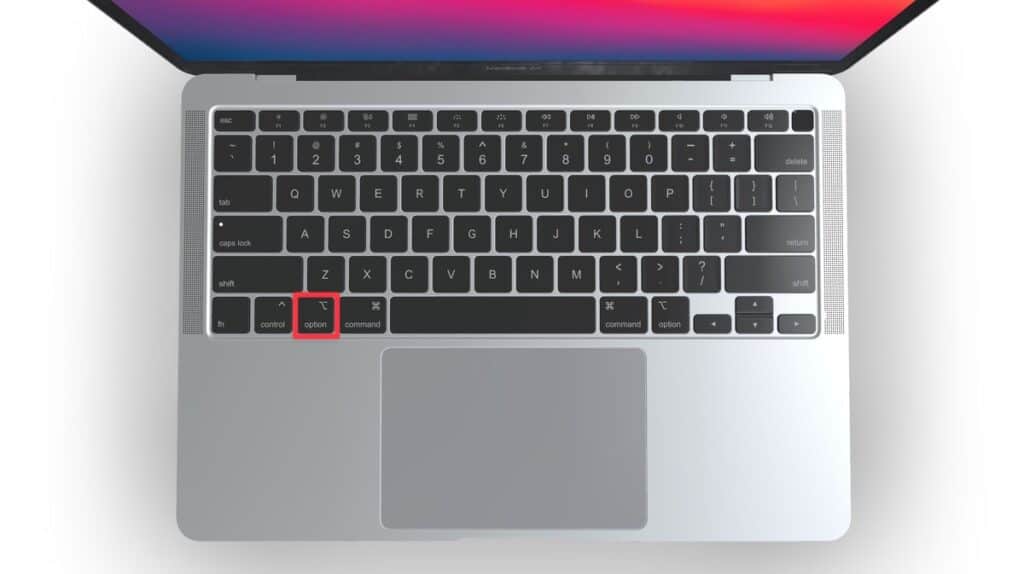
- Boot from the external USB by holding down the Option key during startup and selecting EFI Boot.
- Plug in the eGPU once you’re logged in and execute the following commands in Terminal:
sudo pmset -a gpuswitch 2
sudo pmset -a gpuswitch 0
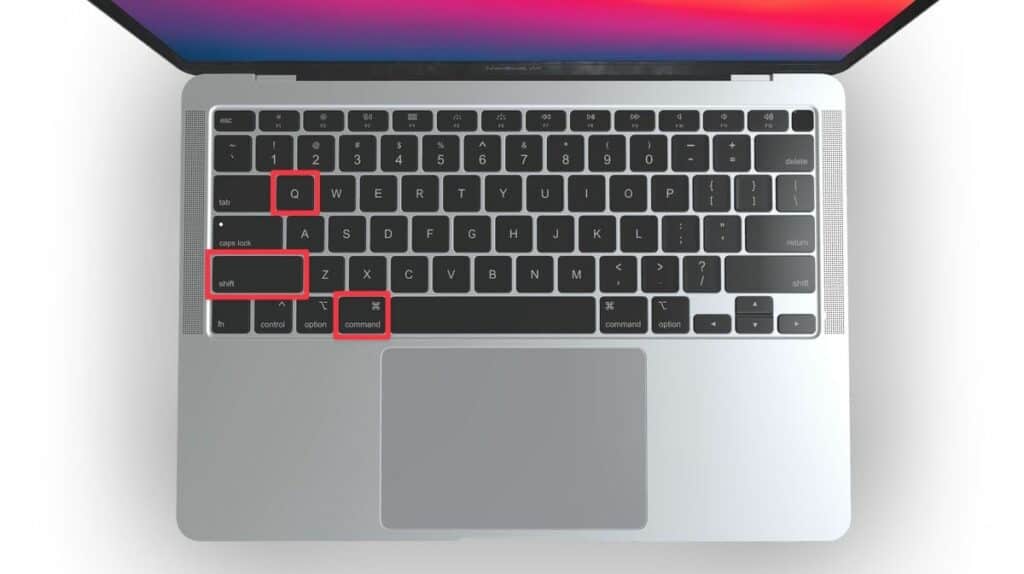
- Use Shift + Command + Q to log out, then log back in to activate the eGPU.
How to Use an eGPU With a Mac
Here are the steps to get your eGPU working with your applications on a Mac running macOS Mojave or later:
- Complete any required setup to enable eGPU support on your Mac.
- Plug the eGPU into an available Thunderbolt 1, 2, or 3 port on your Mac. Apple recommends using a port on the left-hand side of your MacBook Pro for best performance.
- An eGPU icon should appear in the menu bar once plugged in. This confirms macOS has recognized the eGPU, and it’s ready for use.
- Open your Applications folder and find the application you wish to run with the eGPU.
- Right-click the chosen application and select Get Info from the context menu.
- In the General tab of the info window, locate the Prefer External GPU checkbox and check it.
- Open the application. It should now utilize the eGPU instead of the integrated GPU in your Mac.
Why Would You Need to Replace a Graphics Card on MacBook Pro?
You might need to replace your MacBook Pro’s graphics card for various reasons. Some of these reasons are as follows:
- Hardware Age and Wear: Every technology has a lifespan, including graphics cards. As time passes, the graphics card in your MacBook Pro may deteriorate from frequent use, resulting in slower performance and a decline in your machine’s overall capabilities.
- Graphics-heavy Tasks: Professionals like graphic designers, video editors, and gamers demand more from their hardware. Standard graphics capabilities may not suffice for complex 3D rendering, high-resolution video editing, or running graphics-intensive games.
- Compatibility Issues: Software is continually evolving, and new updates or applications can require more robust hardware than your current system offers. This can create a bottleneck in your workflow, as your hardware struggles to keep up with the new software requirements.
- Signs of a Failing Graphics Card: When a graphics card starts to fail, it may show signs such as screen artifacts, frequent crashes, or an inability to boot up your computer. These problems can interrupt your work and indicate that your internal graphics card might be nearing the end of its lifespan.
Understanding these reasons can help you better determine whether enhancing your MacBook Pro’s graphics capabilities is a worthwhile investment for you.
Potential Issues and Troubleshooting
Let’s take a closer look at some common issues you might face when setting up an eGPU with your MacBook Pro, along with some troubleshooting tips.
- MacBook Not Recognizing the New Graphics Card: If your MacBook fails to recognize the eGPU, there could be multiple reasons behind it. One of the most common issues is improper seating of the card in its enclosure. Double-check that all connections are firm and the card is well-placed in its slot. Additionally, ensure you’ve installed the necessary drivers that came with your eGPU.
- Overheating Issues: Overheating can significantly impair the performance of your graphics card and may even lead to hardware failure over time. One primary cause of overheating is the incorrect application of thermal paste. If you’ve manually installed a card into an eGPU enclosure, make sure you’ve applied the thermal paste as per the manufacturer’s guidelines.
- Driver Conflicts: Driver incompatibility can result in system instability and crashes. This usually happens when there’s a mismatch between the macOS and the eGPU drivers. If you’re experiencing issues, update your eGPU drivers to the latest version. If the problem persists, consider rolling back to a previous driver that was stable.
- Additional Tips: If you’re using older Mac models with Thunderbolt 1 or 2 ports, remember to consider a USB-C to Thunderbolt adapter. When selecting an adapter, prioritize reputable brands for compatibility and performance assurance. Additionally, ensure that your macOS version supports eGPU configurations, like macOS High Sierra 10.13.4 or newer.
Frequently Asked Questions
Is it possible to upgrade the graphics card in all MacBook Pro models?
No, it’s not possible to upgrade the internal graphics card in any MacBook Pro model as they are soldered to the motherboard. However, many MacBook Pro models with Thunderbolt ports can be enhanced using an external GPU (eGPU) for improved graphics performance.
What is the average lifespan of a MacBook Pro graphics card?
The typical lifespan of a MacBook Pro graphics card may vary, yet it’s typically engineered to endure around 5 to 7 years with regular use. Aspects such as demanding graphic operations and environmental factors can impact its longevity. Note that integrated GPUs might exhibit distinct longevity patterns.
How can I determine if my MacBook Pro’s poor performance is due to a failing graphics card?
To identify whether your MacBook Pro’s reduced performance stems from a failing graphics card, watch for indicators such as screen artifacts, frequent crashes, or sluggishness during graphics-intensive tasks. Utilizing hardware diagnostic tools and ensuring driver updates are current can assist in isolating potential graphics card problems.
Can replacing a graphics card void my MacBook Pro’s warranty?
No, you can’t replace the internal graphics card in a MacBook Pro as it’s integrated into the motherboard. However, using an external GPU (eGPU) generally won’t void your warranty, though it’s always a good idea to consult Apple’s terms and conditions to be certain.
Conclusion
While it may not be possible to replace the internal graphics card on a MacBook Pro due to its integrated nature, external GPUs (eGPUs) have emerged as a promising solution, offering a way to expand and enhance your Mac’s graphics capabilities. By connecting an eGPU to your MacBook Pro, you can tap into increased graphical processing power, ideal for tasks such as video editing, graphic design, or gaming.
Whether you find yourself grappling with the limitations of aging hardware, diving into graphics-intensive projects, or simply looking to future-proof your system for upcoming demands, investing in an eGPU could prove to be a wise decision. While there may be initial hurdles to overcome, such as compatibility issues and potential troubleshooting, the performance benefits that an eGPU can deliver are often substantial.
So, if you’ve been contemplating a graphics upgrade for your MacBook Pro and seeking a solution to elevate its graphical capabilities, an eGPU might just be the missing piece you’ve been seeking to unlock the full potential of your Mac.